![](https://modelinghappy.com/wp-content/uploads/2018/04/180404_zbrush_polygroupit_00.png)
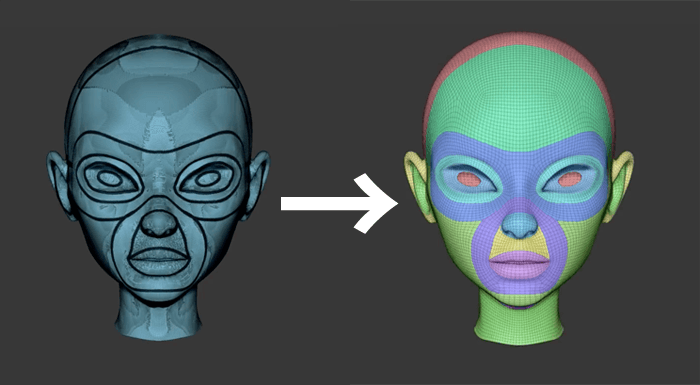
ZBrushでコネコネして作りあげたモデルからZbrush2018の新機能”Polygroupit”を使って顔の流れに沿ったトポロジーを簡単に作る動画があったのでご紹介です。
PolyGroupItの使い方
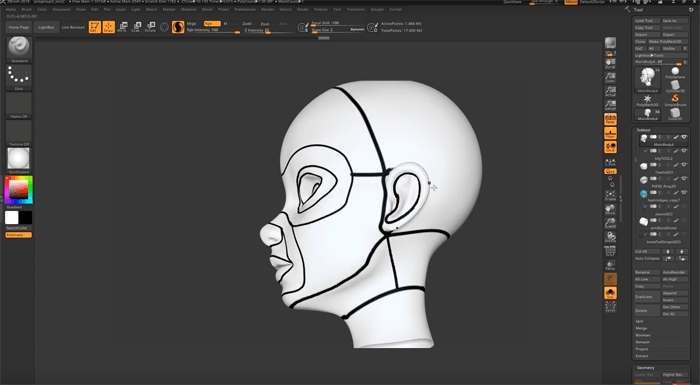
Zbrushで作ったモデルにペイントでトポロジーの流れに別けたい部分を黒くペイントします。
![](https://modelinghappy.com/wp-content/uploads/2018/04/180404_zbrush_polygroupit_01.png)
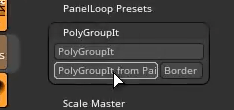
ペイントし終わったら、Zbrush上のツールバーの中にあるPluginから「PolyGroupIt」を選び、
![](https://modelinghappy.com/wp-content/uploads/2018/04/180404_zbrush_polygroupit_02.png)
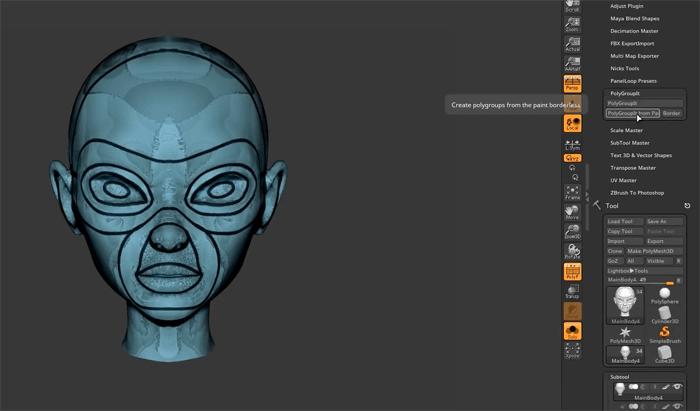
その中にある、「PolyGroupIt from pai~」と書かれてる部分をクリックすると
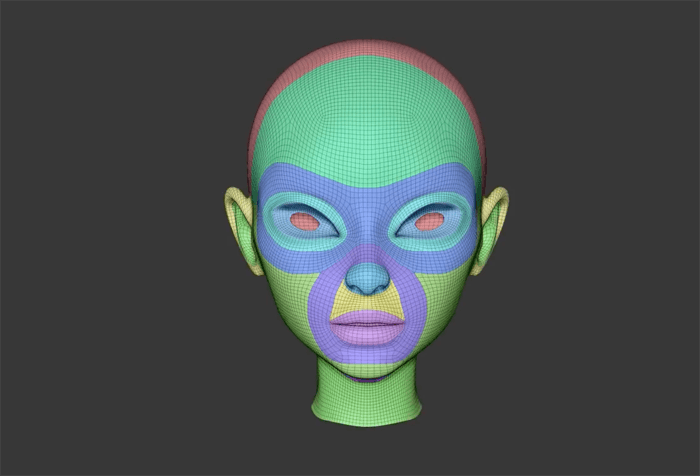
![](https://modelinghappy.com/wp-content/uploads/2018/04/180404_zbrush_polygroupit_03_01.png)
ポリグループ別けが自動でされました。
![](https://modelinghappy.com/wp-content/uploads/2018/04/180404_zbrush_polygroupit_03.png)
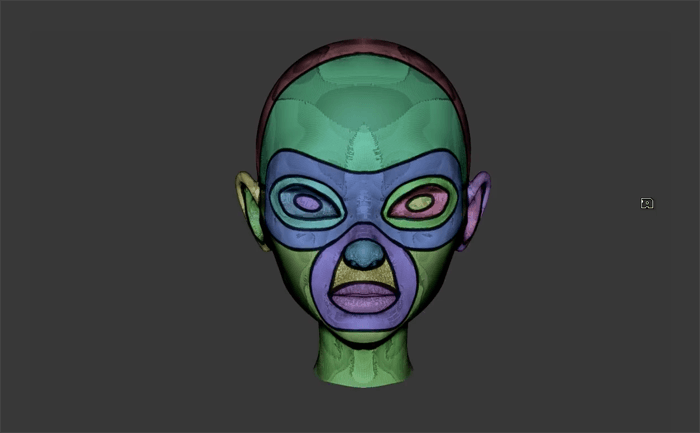
次にZRemesherの中にある「KeepGroups」にチェックをいれて、ZRemesherボタンを押せば
![](https://modelinghappy.com/wp-content/uploads/2018/04/180404_zbrush_polygroupit_04.png)
ポリグループ毎に別れた状態のモデルが簡単に作られます!なんて便利なんでしょうか!!
![](https://modelinghappy.com/wp-content/uploads/2018/04/180404_zbrush_polygroupit_06.png)