Zbrushを主に使い、Mayaを使って微調整してハードサーフェースを作る方法があったので記事にしました。これを使えば難しい曲面などのパネルをいつもよりスムーズに作る事が出来るかもしれません。
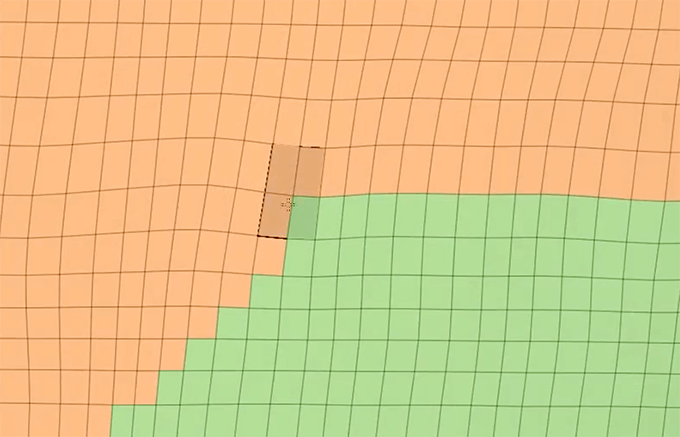
Zbrushを使ってまずは別けたいパーツごとにマスクをかけてショートカットのCtrl+Wを押してマスクをポリグループに別けます。
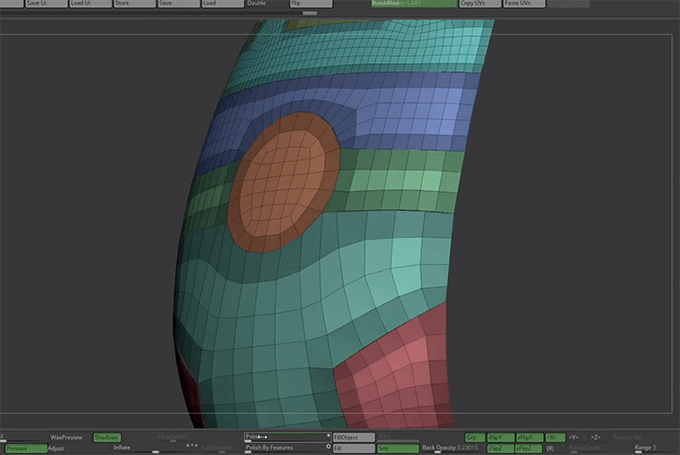
別けたらエッジの角だけをマスクして
 Polish By Features(ポリッシュ特殊検知)のスライダを横に移動します。
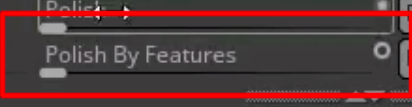
パキッとさせたい部分にマスクをしておく事でPolish By Featuresを押しても角が丸くならずに済みます。
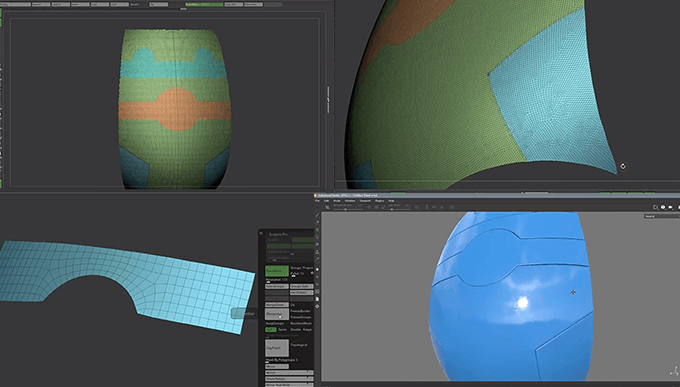
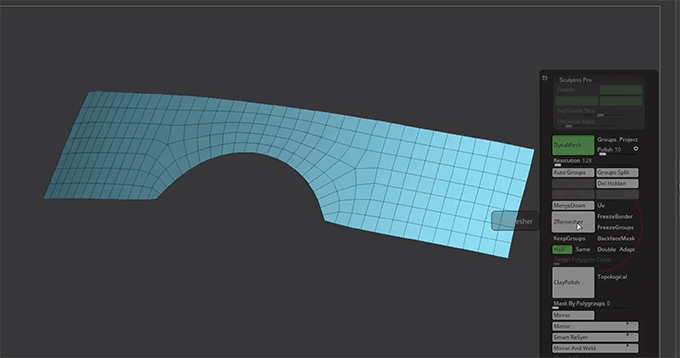
Group Splitでパーツを分割して

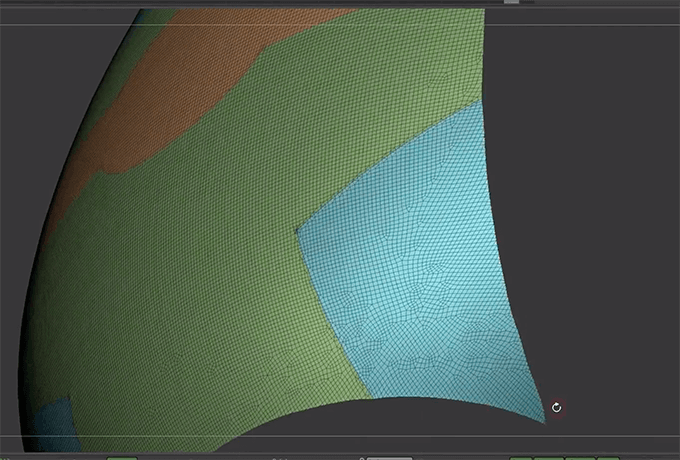
それぞれのパーツをZRemesherをharlfで連続で押してある程度の分割数にしています。
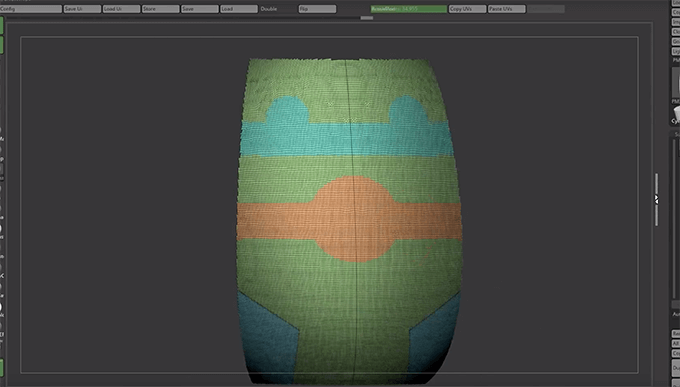
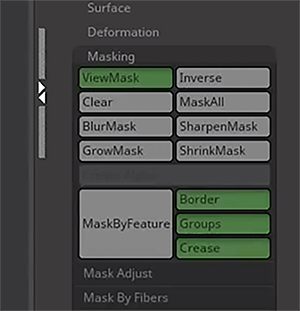
 別けたパーツを全てマージしてMaskingの「border」「Gropus」「Crease」にチェックをいれてMask By featureを押すとキワ部分にマスクがかかるので
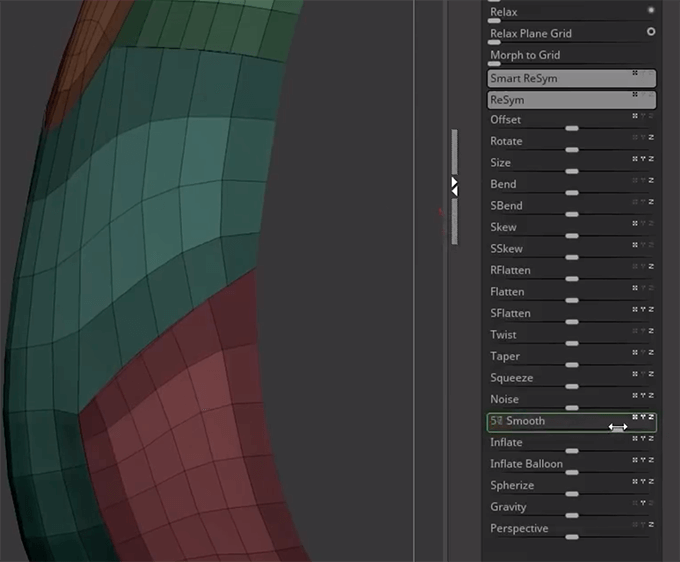
Polyshにチェックを入れてスライダを動かしたり、Smoothを動かして分割してガタガタしているモデルを滑らかにしています。
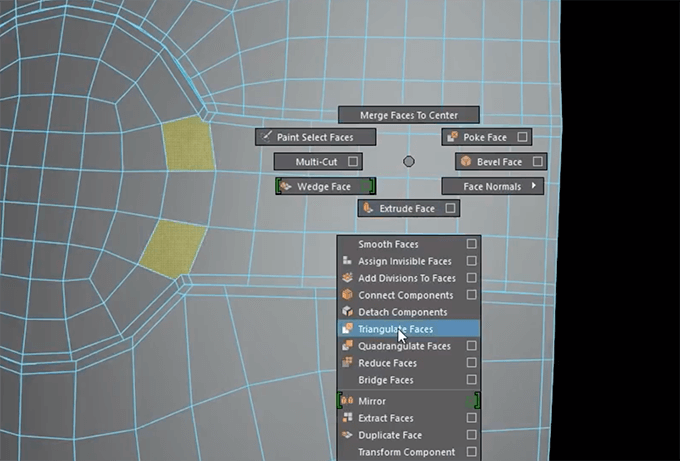
その後MAYAにもってきてからはエッジを調整したり
 多角形を選択してTriangulate facesで自動に三角にして
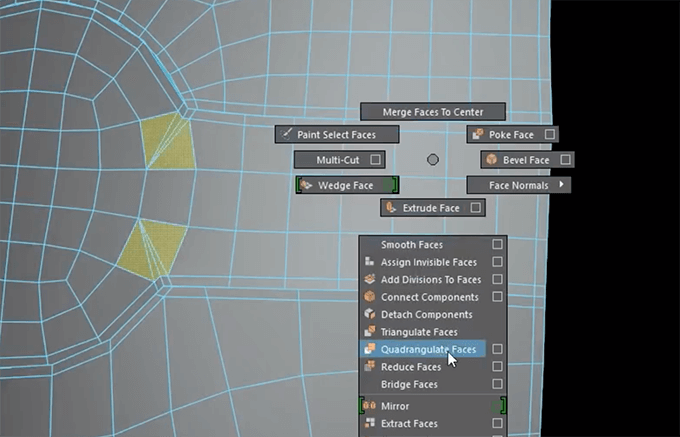
さらにそこからQuadranguate facesで自動で三角形を四角形に変更
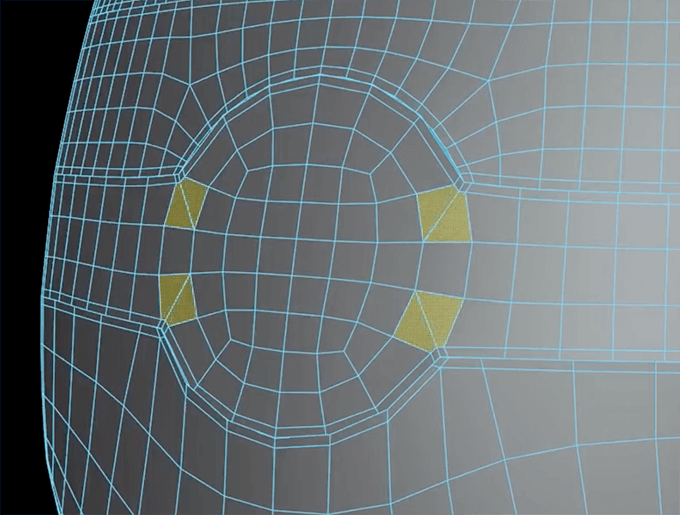
そしてつなぎ目部分だったり歪んでいるところを手動で調整してUV展開後
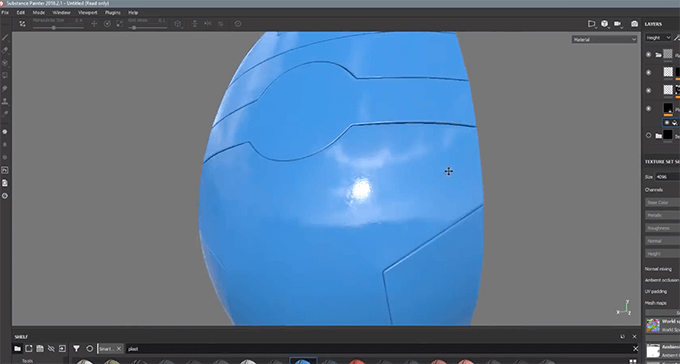
 サブスタンスペインターに持っていってテクスチャを作っています。